The promise of VR is to take the user out of their routine into a fantastic world of wonder. As consumer VR is becoming more and more commonplace the industry still faces issues which hinder wide adoption. Humans are a distinct species that comes in all sorts of shapes and sizes, so designing a headset which will fit comfortably on all heads is a monumental task. Solving that there’s another issue…vision impairment.
I’m not necessarily talking about blind people, rather I’m talking about an ailment that affects nearly 63% of the American populace, usage of glasses. Most headsets are usually bought without test drive so I’m certain there are plenty of perspective buyers who open their new headset only to find their glasses hinder their ability to use their newly acquired toy (Heavens know I was one such owner who thought that I would have my Meta Quest 2 collect dust in perpetuity or experience VR in a level of blurriness that I rather stay in the real world). Thankfully enterprising folks have created solutions to aid these users across pretty much all VR headsets, as we will cover below.
VR Optician
Stan’s Impressions
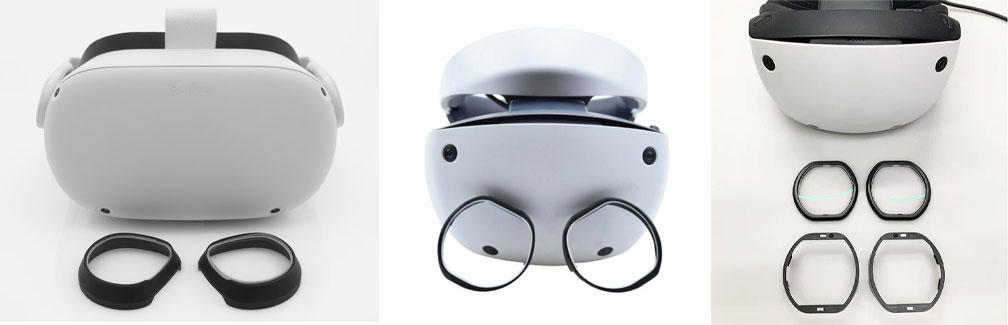
VR Optician is one of many retailers which offer corrective lens inserts for VR Headsets, but what sticks out with them versus their competitors is the sheer amount of headsets supported. From the headset that started this current boom the Oculus Rift CV1, to its latest iteration the Meta Quest 3, the console contender in Sony’s PS VR2 and even some obscure ones (to a layman such as myself) such as the Rokid Max, VR Optician runs the gamut. Prices start at $69 USD (…nice!) which in my previous research into lens insert would put this brand on the higher side, but when I received the product I understood why. Each set of VR Optician utilizes Zeiss lens, for those who aren’t aware this is the company that is responsible for high end camera lens and apparently vision lens as well (insert comment about fine German engineering).
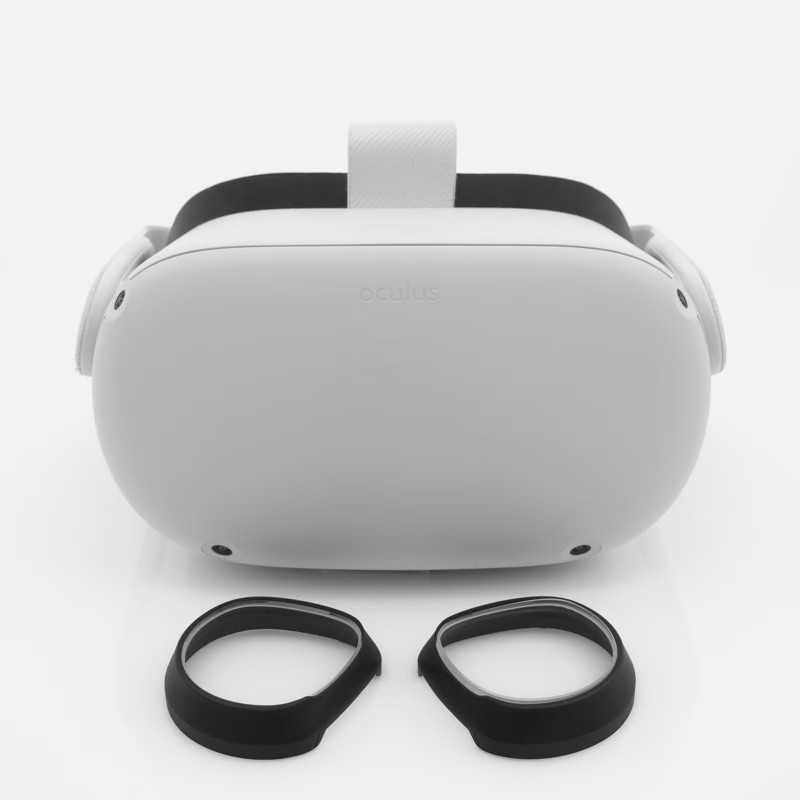
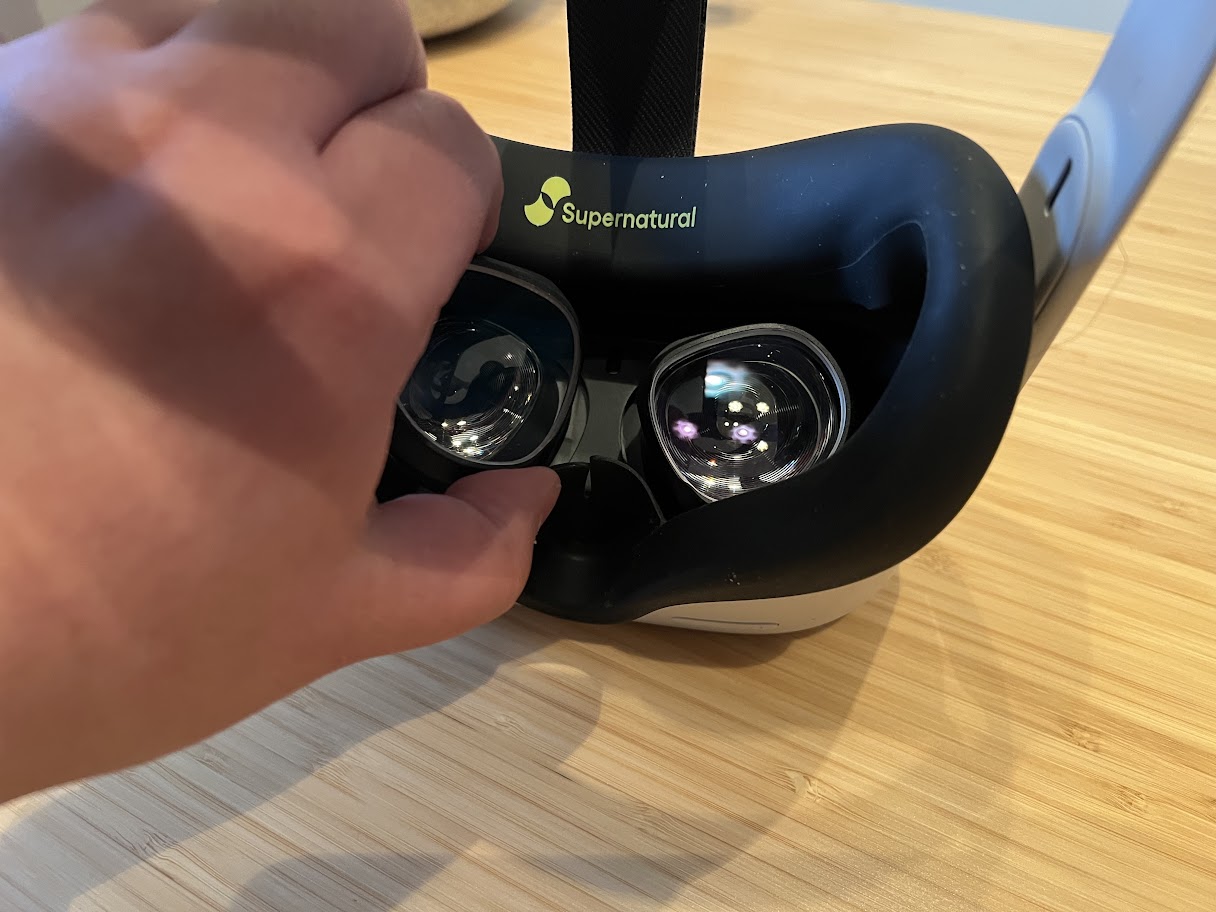
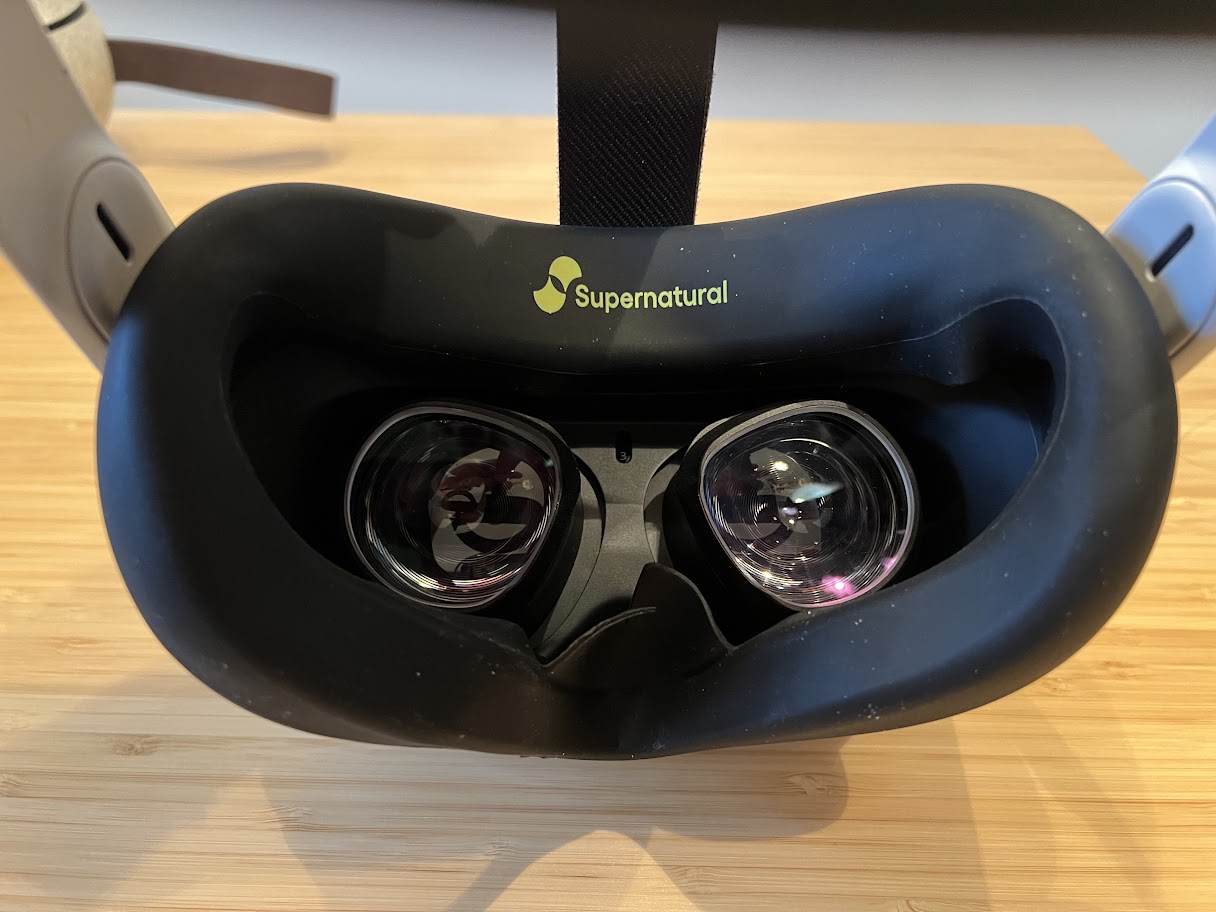
Installation was quite simple, simply pop the lens onto the existing lens of your headset. They snap on easily, fit quite snugly and do not jostle at all. Remove your glasses and put on the headset and you’ll be seeing as if you had your glasses on (assuming your prescription is up to date). It was surreal that this 200+ dollar headset that I thought was relegated to a paperweight in my home was suddenly usable and I had to restrain myself from spending 100s of dollars on software in my newly revitalized headset. While it was annoying that I had to remove my glasses to use it, I do have to say short of getting Lasik or some form of corrective surgery this was the optimal and economic solution.
So thanks to Jim for informing me of this company’s existence and finally giving me the push I needed to finally commit to acquiring these lens inserts. Although he unwittingly loosened his stranglehold on VR coverage on site as now I might need to get into the fray and ramp up my work on VR coverage on my resume. Now if you’ll excuse me I have to debate if I want a glasses free PS VR experience as well.
Jim’s Impressions
I can definitely concur with Stan’s impressions of the very high end VR Optician prescription lenses (or “lens inserts” as they refer to them) which I also had an opportunity to try out. A little background for me. I wear glasses for distance, specifically driving, watching TV/movies and playing games. The Meta Quest 2’s glasses insert solution is not ideal out of the box so I always just tolerated the somewhat soft visuals since wearing glasses were not an option. So after snapping in the VR Optician lenses I was pretty amazed at how much more crisp the were (relatively speaking) in comparison to my usual view, and I was sorry I waited so long to seek out a solution.
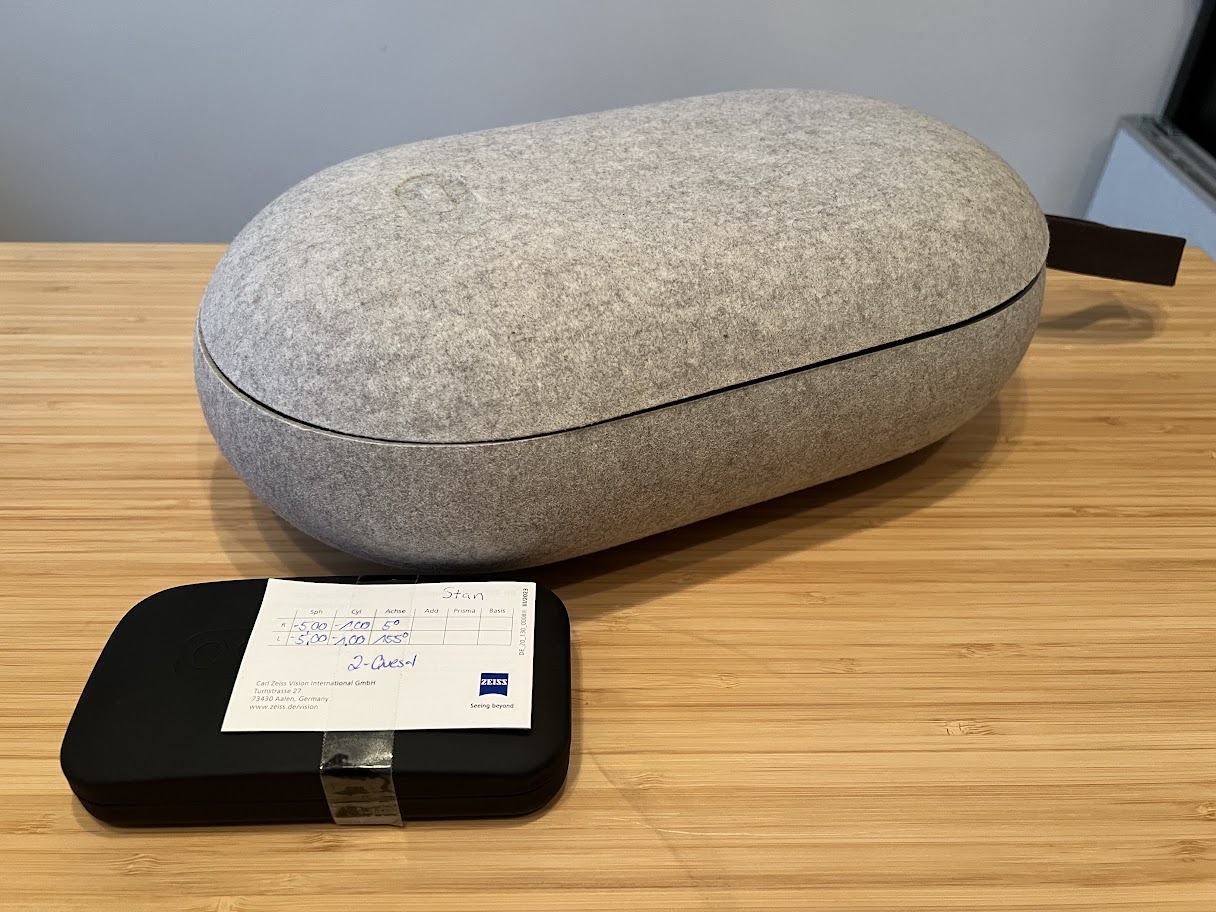
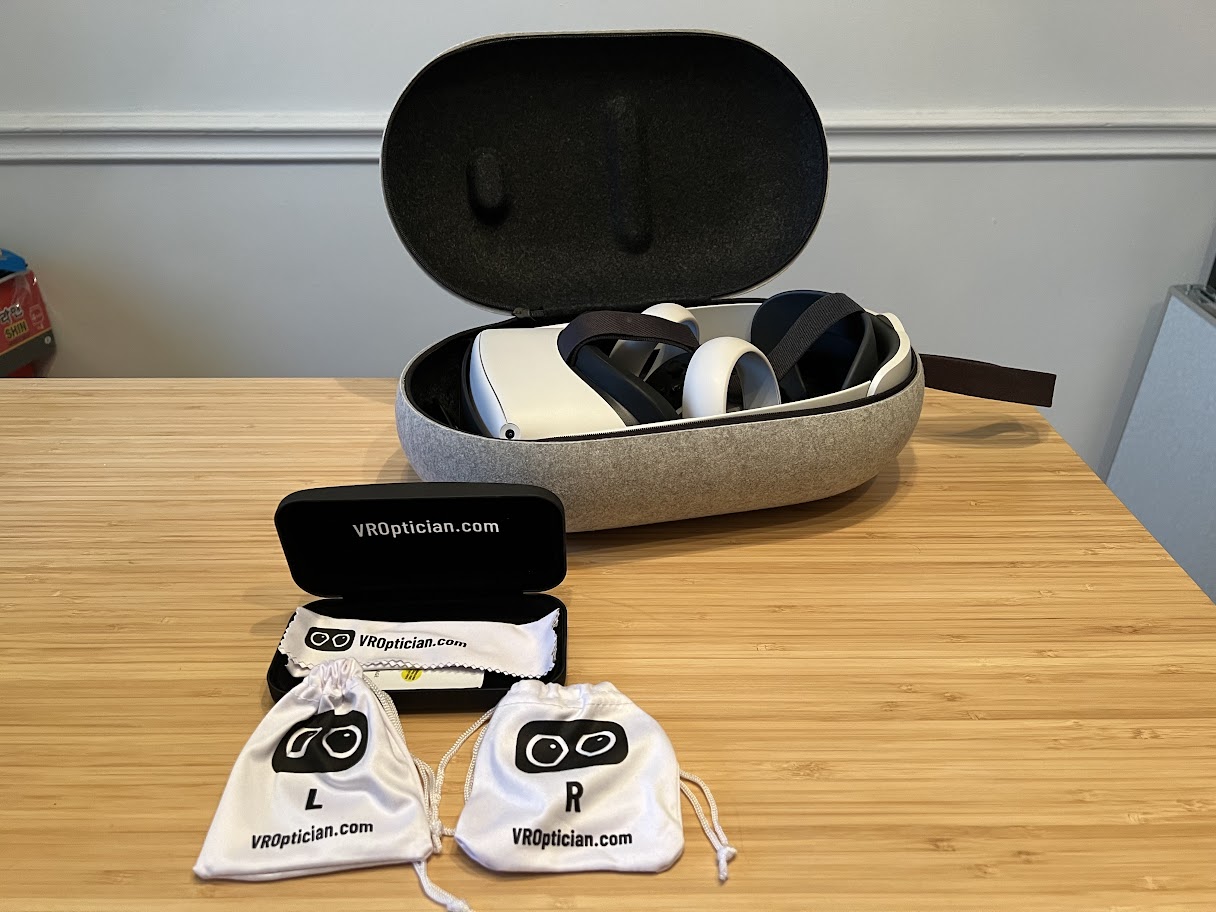
VR Optician kits include a study glasses-style case, microfiber cloth and individually labelled bags to keep them clean, organized and dust free when they are in and off the headset. The additional scratch and impact resistant hard coating, anti-reflection coating and clean coat lens upgrades which are included with all prescription lenses doesn’t hurt either. While we’d consider VR Optician to be on the higher end in terms of price, you can chip away at the price by using a coupon code as detailed below. They are tax free and shipping is also free, and those with health insurance FSA plans can utilize that as a form of payment/reimbursement as well.
Check out the various VR Lens solution from VR Optician right here: https://vroptician.com.
For 5% off any order, make sure to use the Coupon Code: “gaming-age”
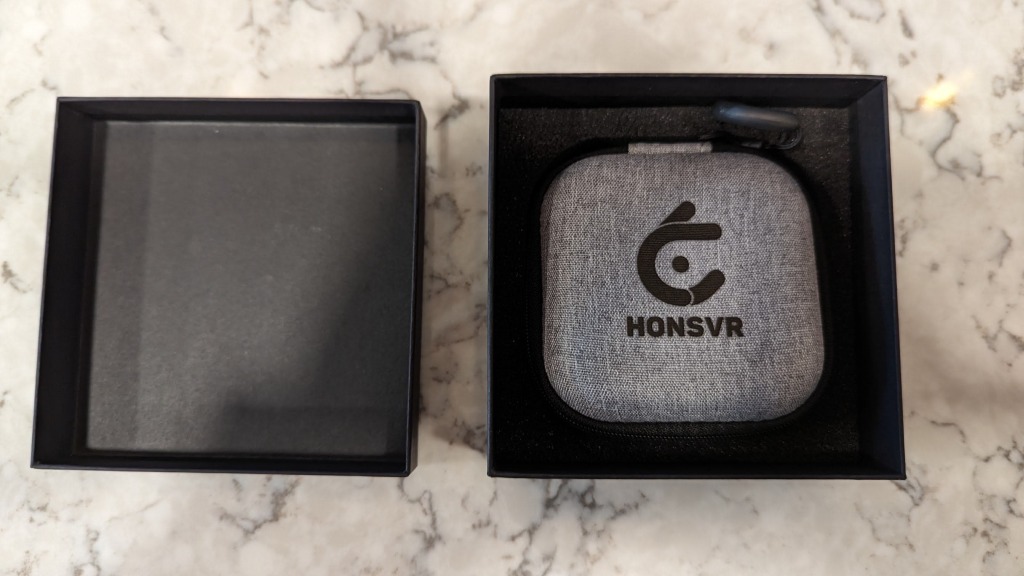
HonsVR
Jim’s Impressions
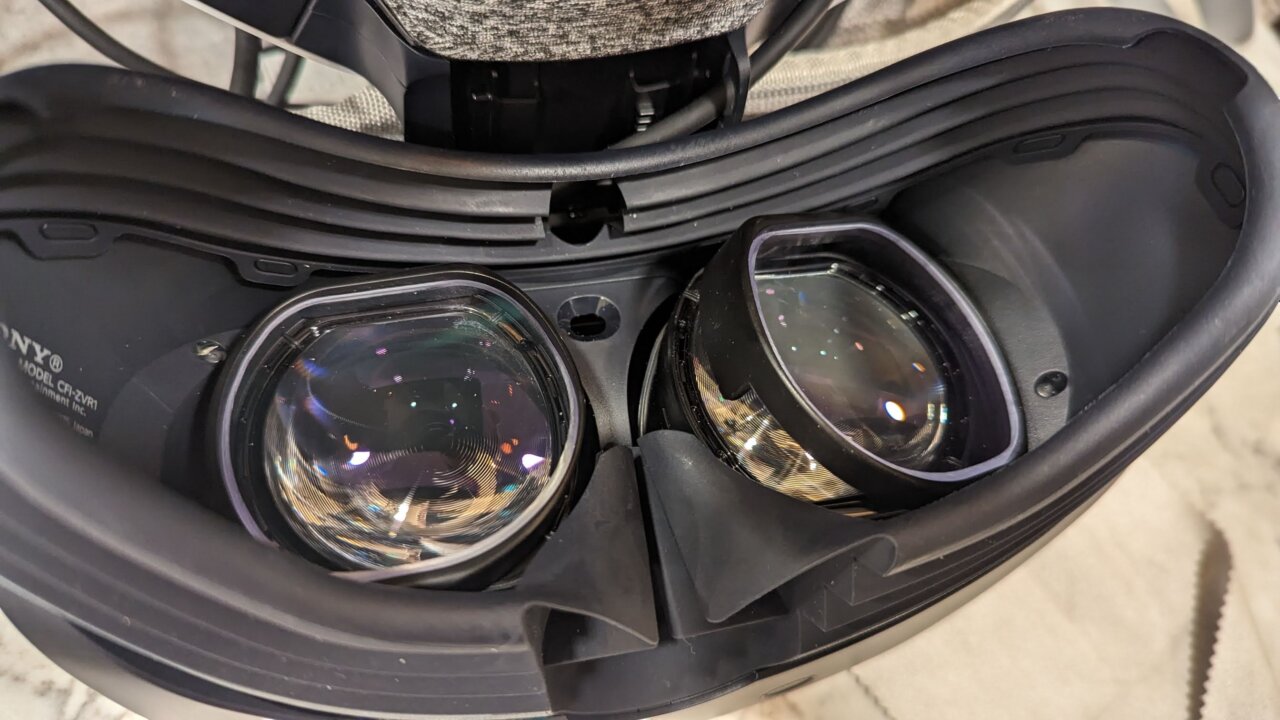
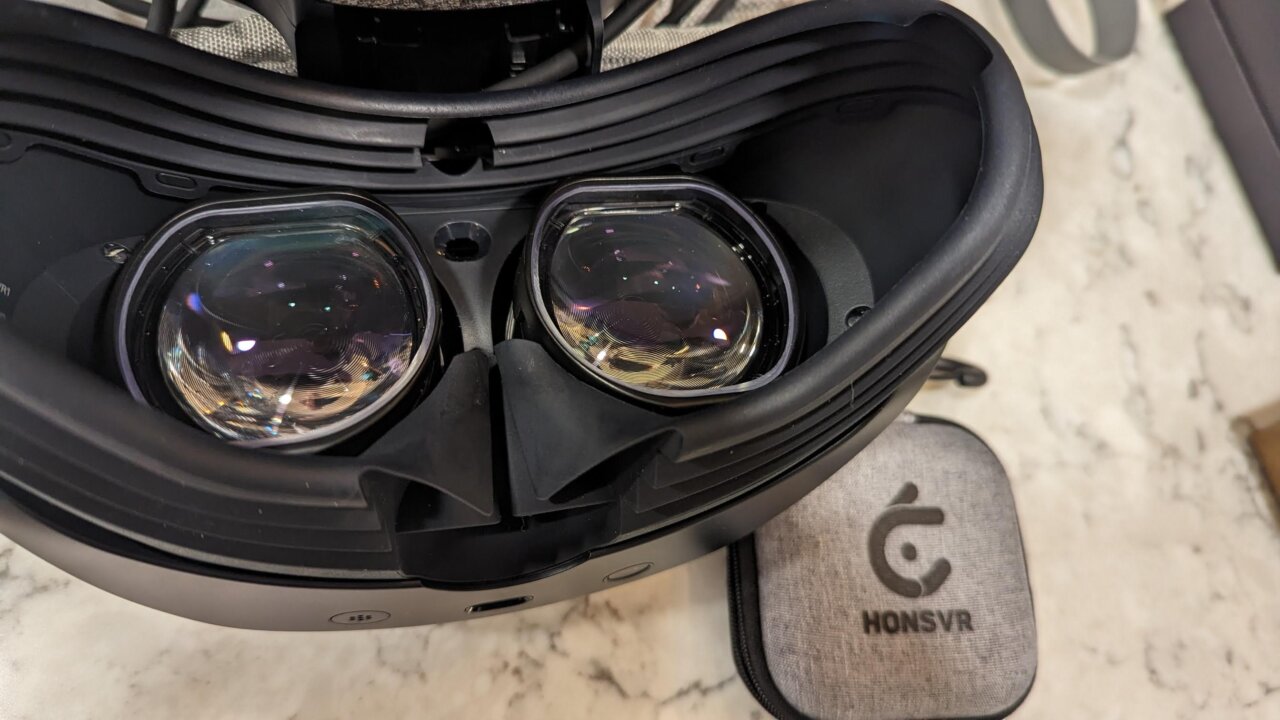
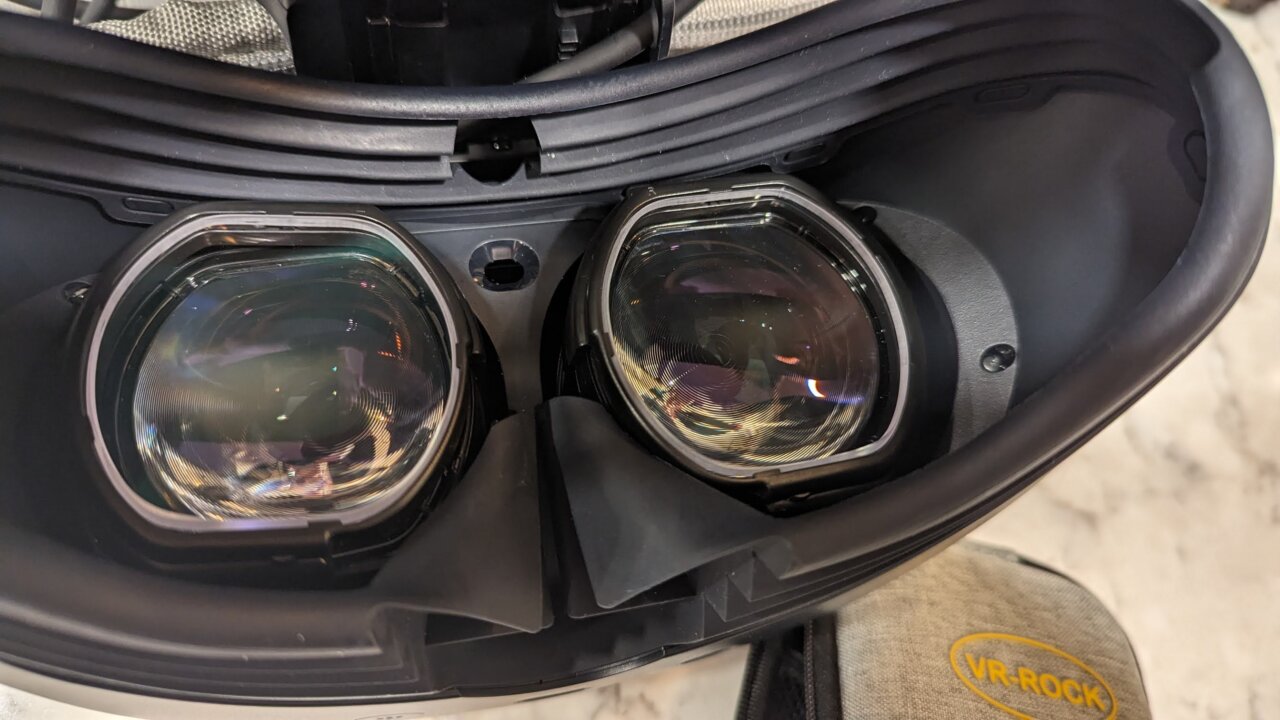
After witnessing the magic of prescription lens inserts on the Quest 2, I was eager to also try out such a solution for the PlayStation VR2 — which has become my VR platform of choice at the moment. The PS VR2 is actually pretty compatible with most glasses thanks to how the headset is designed, but while they fit, it’s not super comfortable to wear them during extended VR sessions. Also, they get smudged or sweaty and it’s just another potential obstacle when trying to keep the headset in the “sweet spot”. So prescription lenses made sense of course, so I was able to get my hands on a set from the well-regarded HonsVR.
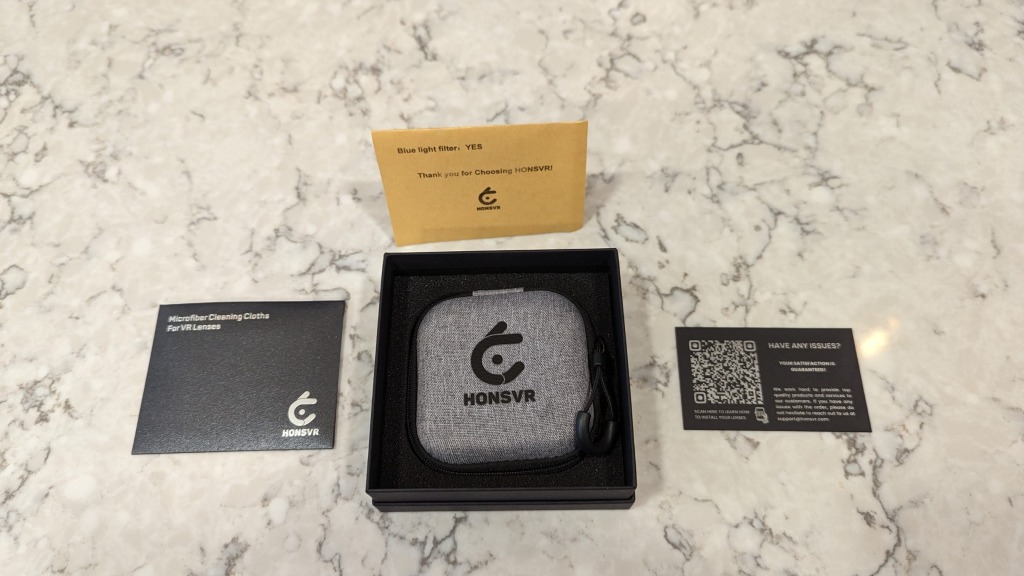
The HonsVR lenses are very similar in design to other premium options, although the retail for around $20 less depending on the features required. In this case, the scratch-resistant and anti-glare coatings are free and there’s an optional blue light filter upgrade for $10.
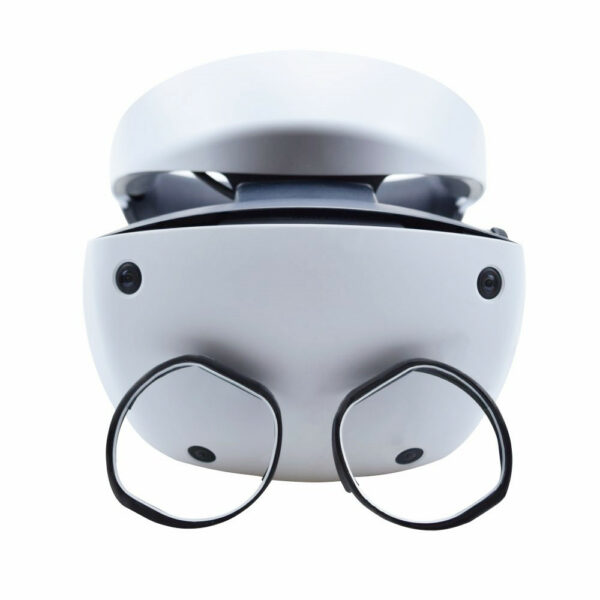
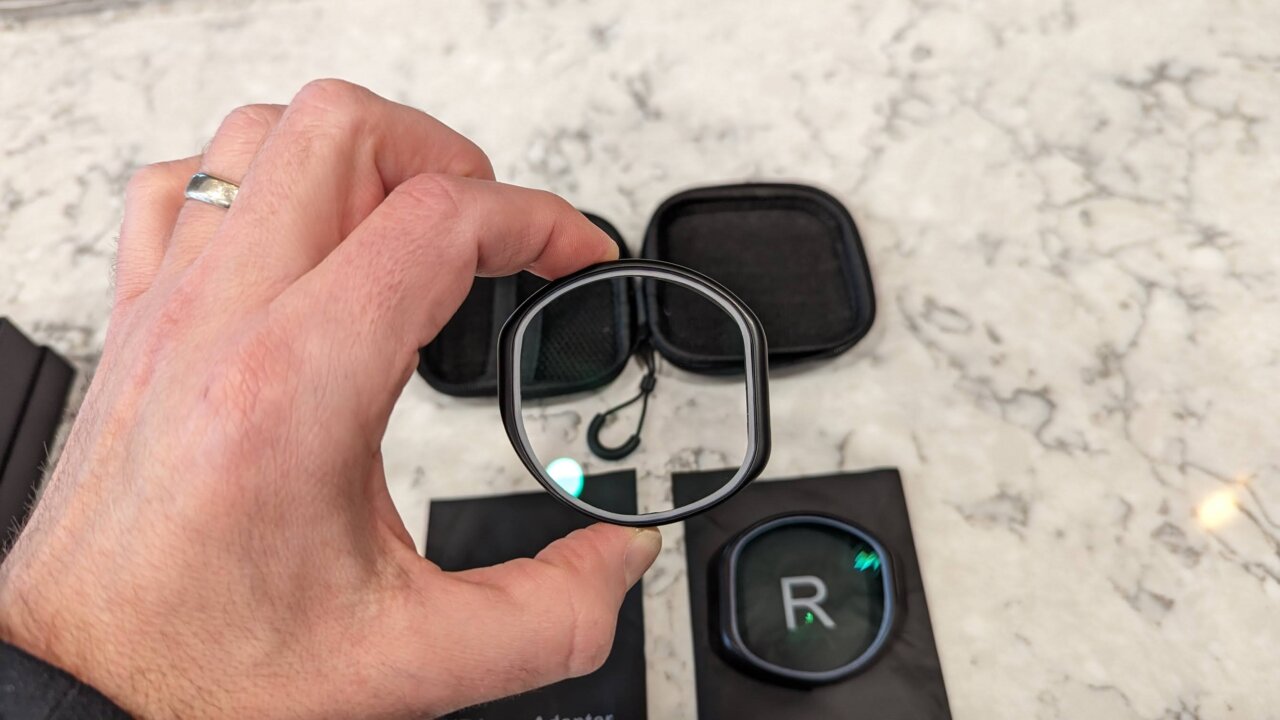
The one piece design for each left and right lens snaps onto the PS VR2 lens assembly easily and securely and doesn’t add much depth or bulk. Like most snap on lenses, they extend out just a little further towards your eyes and nose, and if you really crank down the PS VR2 headset tightness they may make contact on the bridge of your nose, so it’s worth taking a few minutes to try out some strap options to find the most comfortable configuration. I personally have been using the Globular Cluster Comfort Mod exclusively which has been a worthy upgrade over the stock headset strap, and has made it easier to find the best positioning for the headset, before and after lenses.
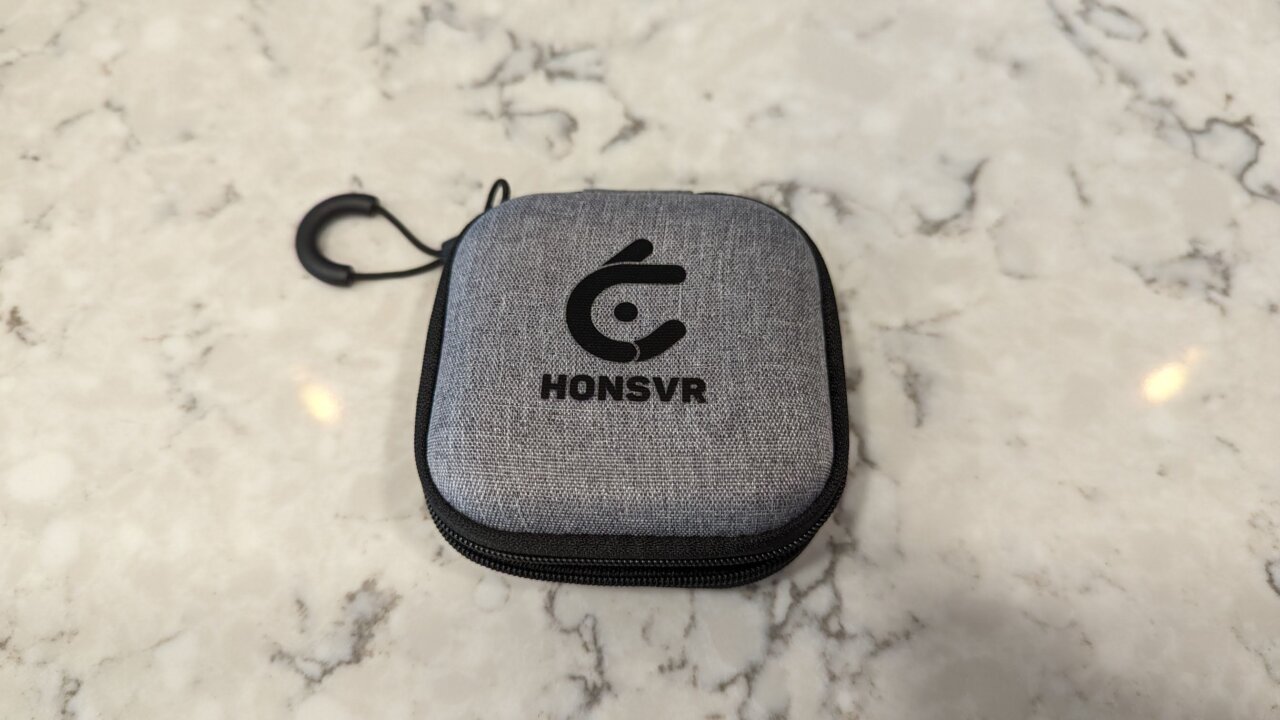
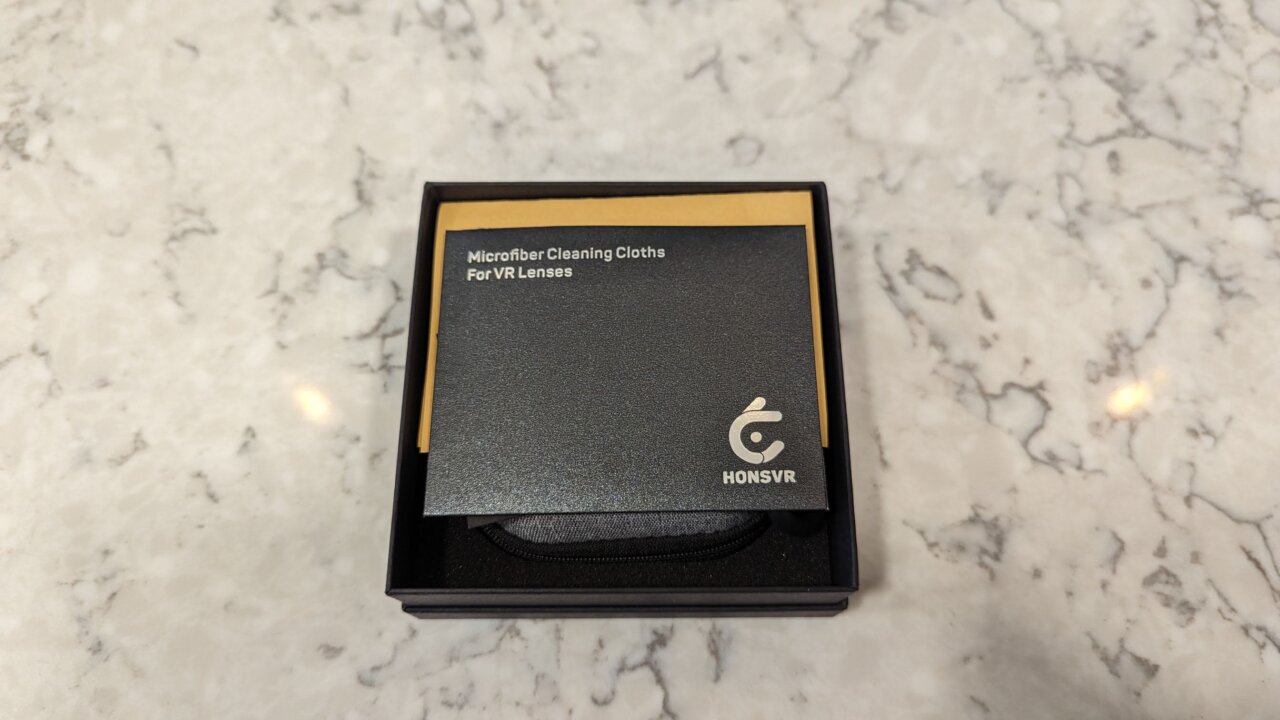
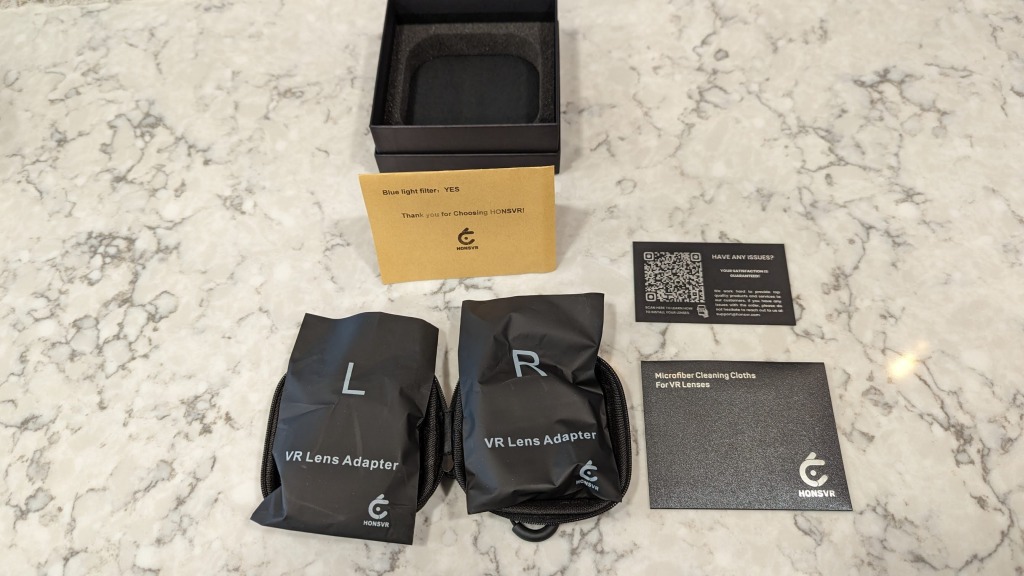
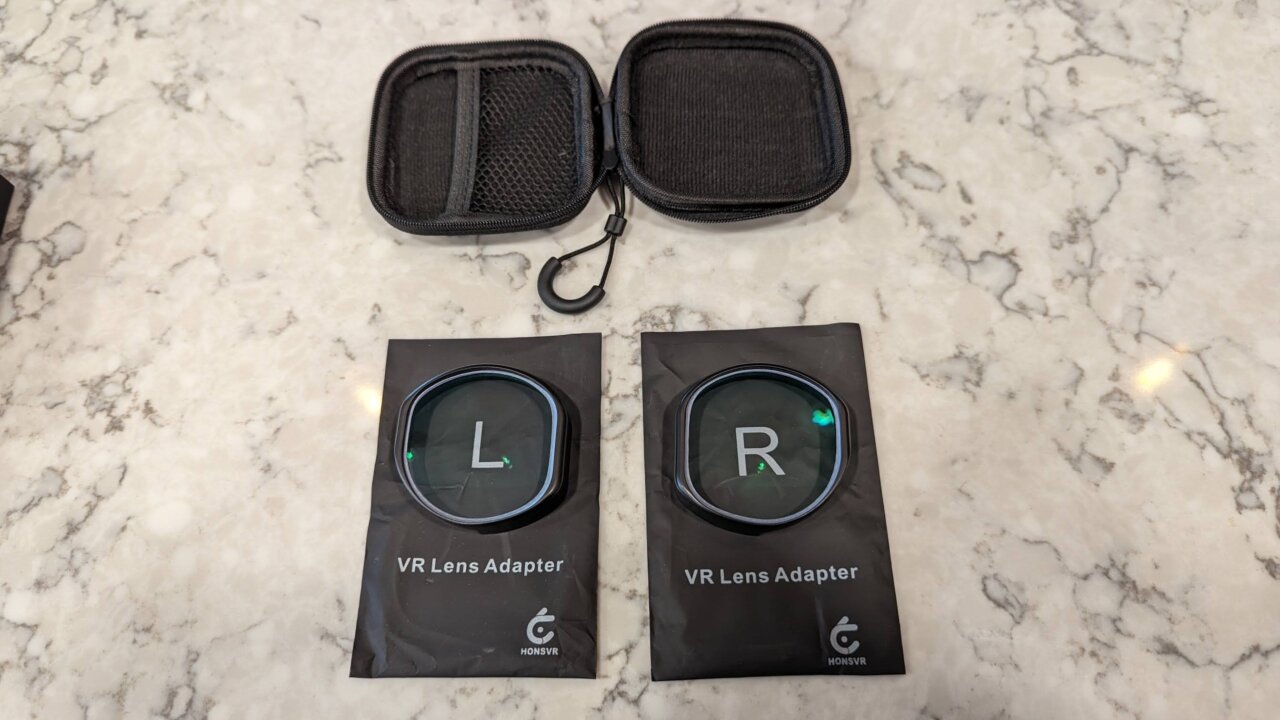
The install of the lenses as mentioned earlier is quite easy (you just snap then over the existing headset lenses), once you make sure you have the left and right lenses identified. The HonsVR kit comes in a cute little branded, soft textured, flip open case with some documentation, a microfiber cloth and labeled lens paper bags. Check out some unboxing and installation photos below.
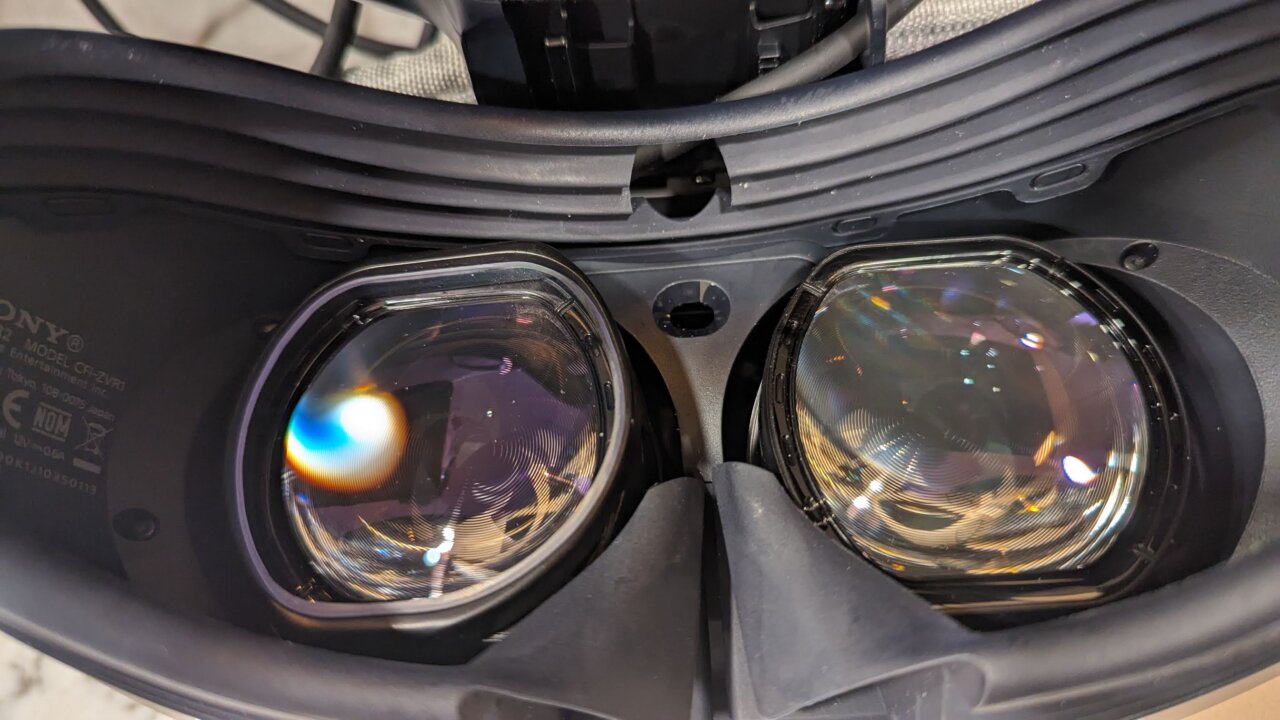
The HonsVR lenses worked extremely well and the blue light upgrade seemed to help with the eye fatigue as compared to just using glasses, especially for longer sessions. The PS VR2 can bit a little trickier when it comes to keeping the headset in the sweet spot and prescription lenses vs framed glasses provides for a bigger viewing area which certainly improves the experience!
Check out the various VR Lens solution from HonsVR right here: https://honsvr.com/.
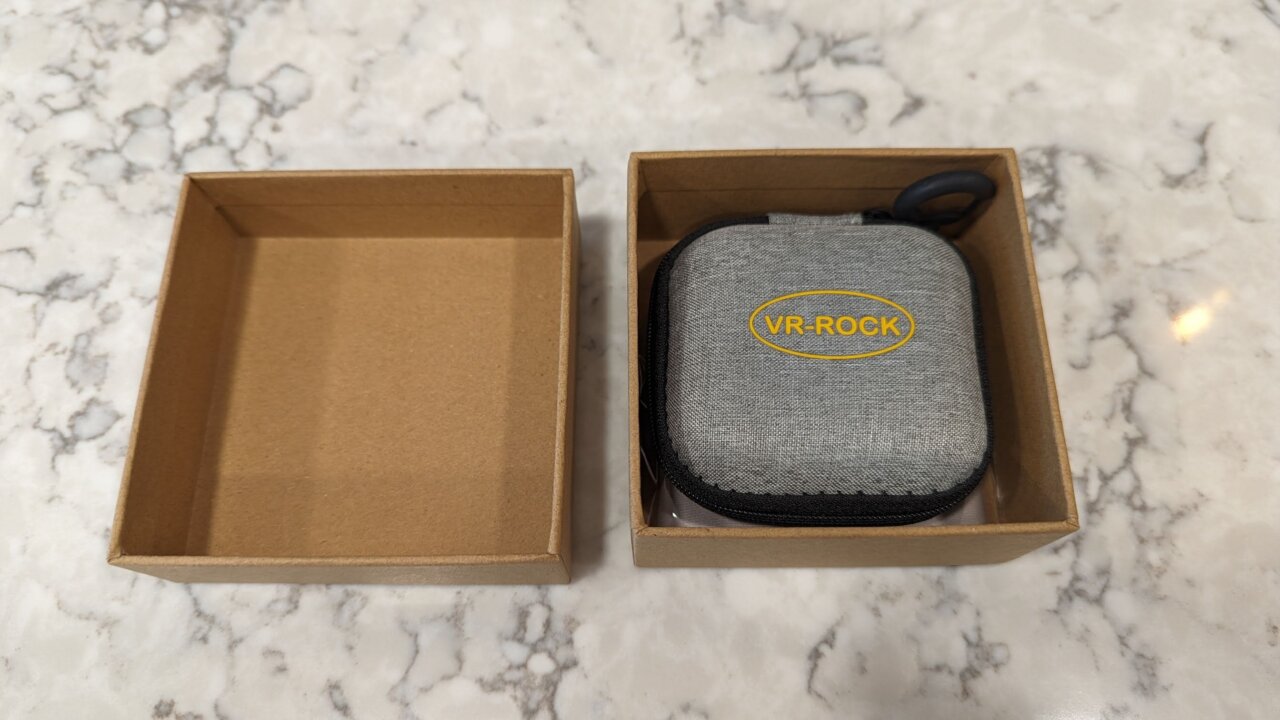
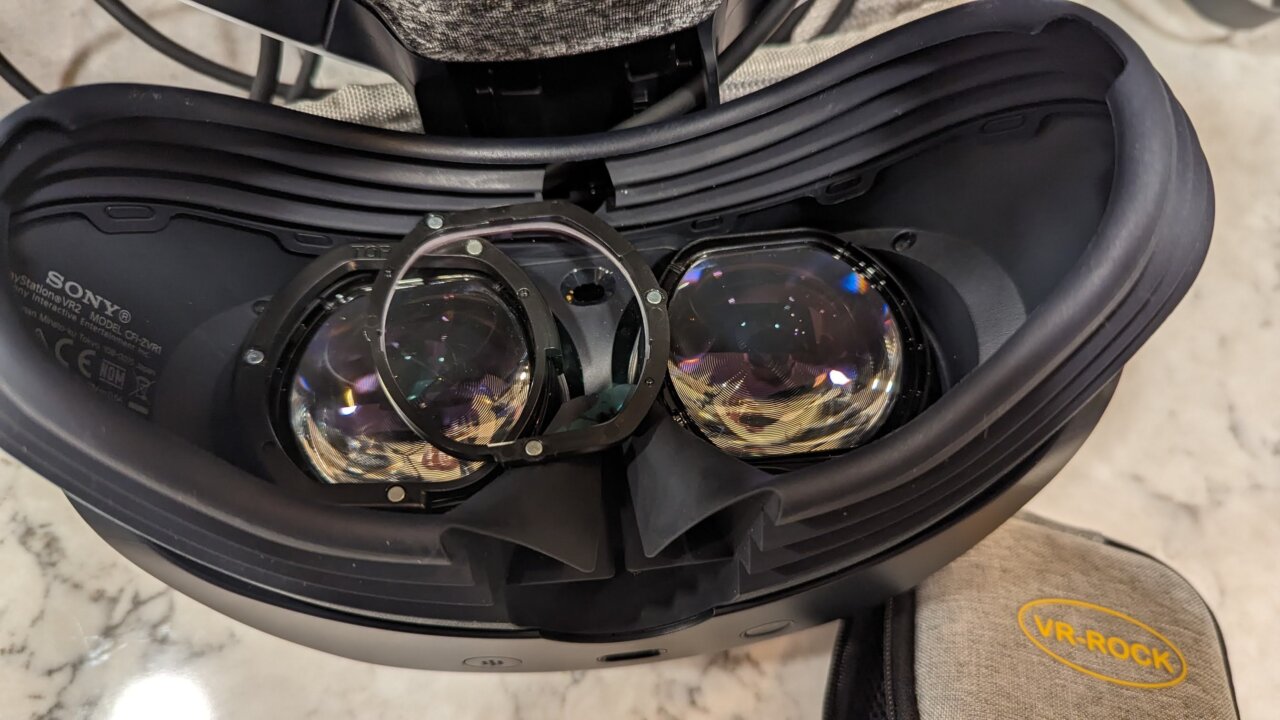
VR-Rock
Jim’s Impressions
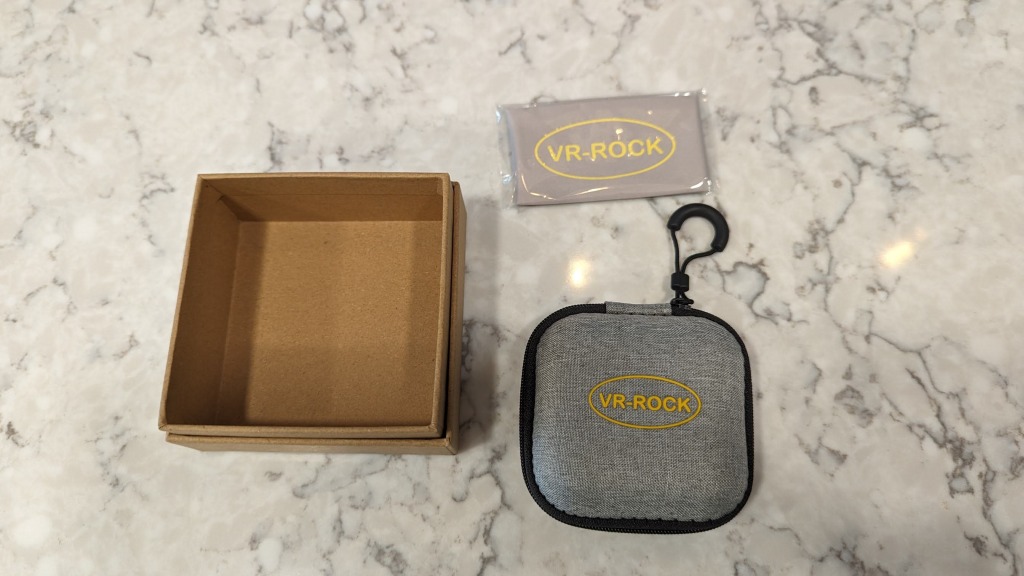
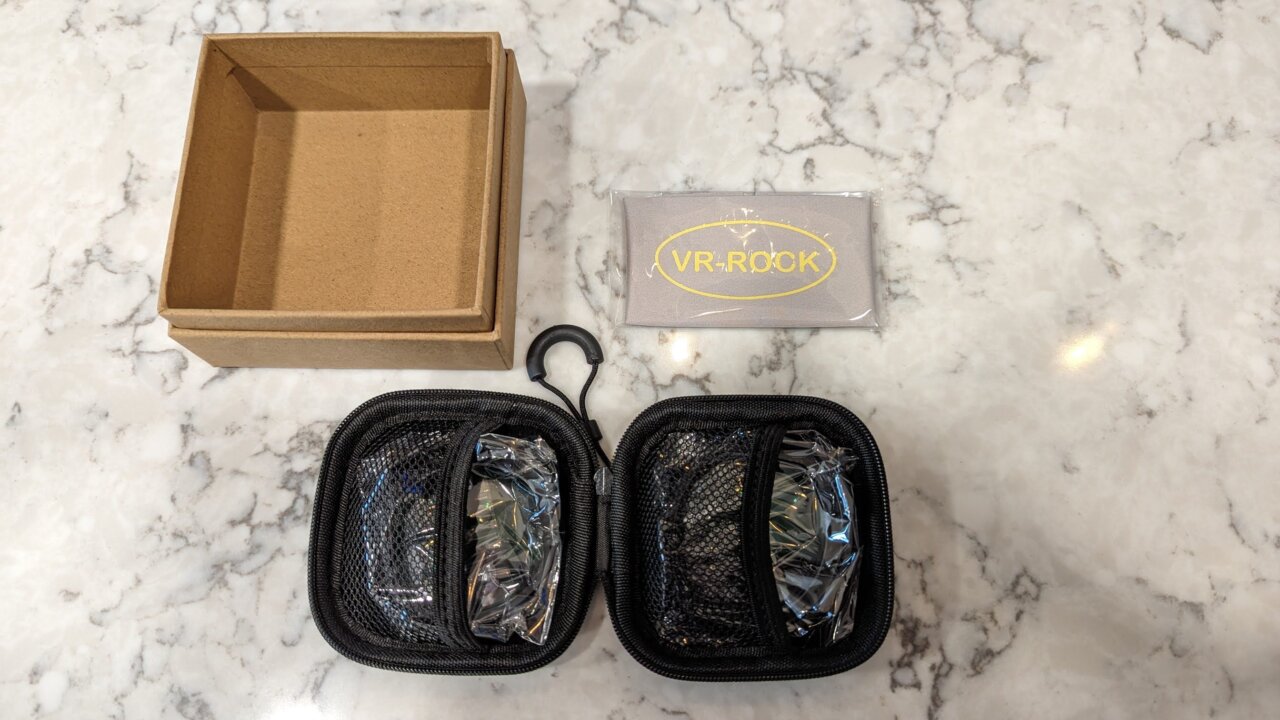
Those who are looking for VR prescription lenses who may be a bit more budget minded or require some unique features can check out another supplier known as VR-Rock. The VR-Rock lenses, for all intents and purposes are nearly identical for my prescription to the premium option, but in some cases can be $25 cheaper (depending on the upgrades/features).
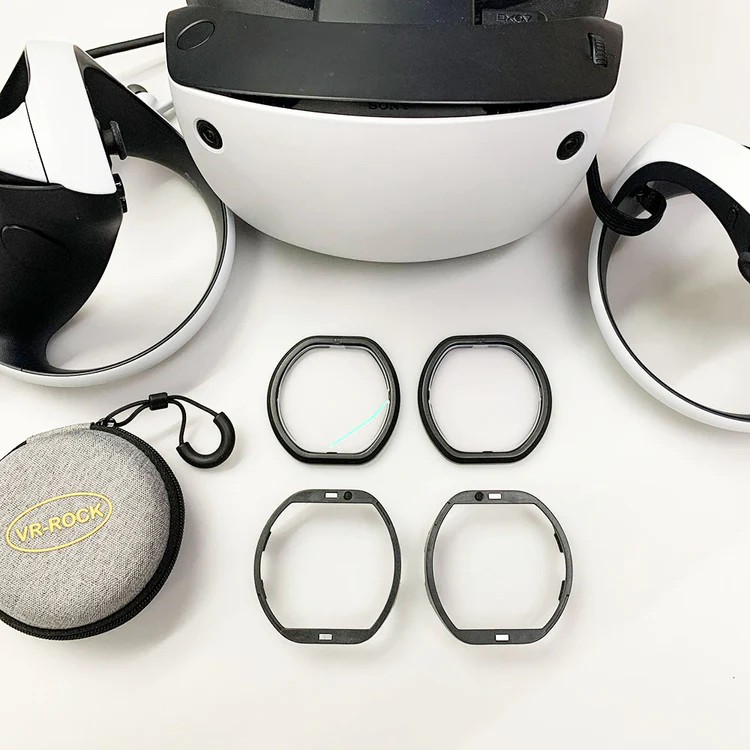
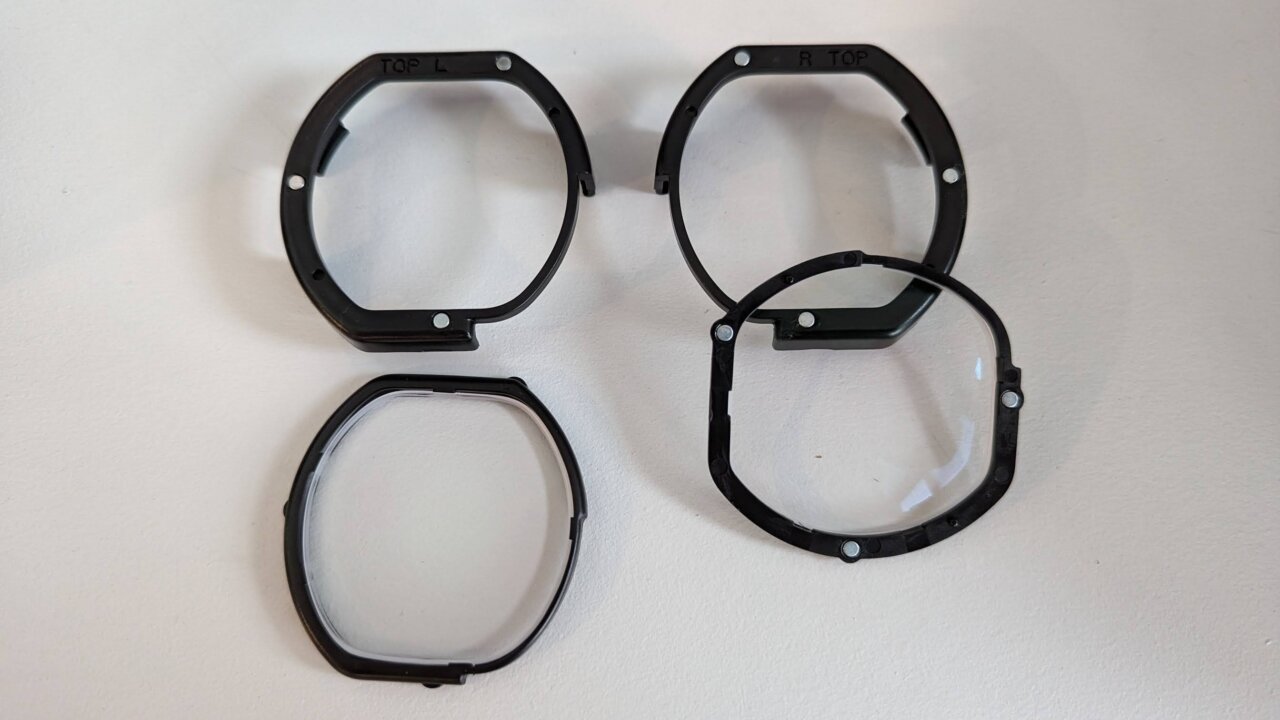
While the packaging is a little more basic, the actual lenses include free scratch-resistant, dust-resistant, easy to clean, radiation-resistant and anti-fatigue coatings. Anti-blue light and anti-glare upgrades are $10 each when selected as well. One of the cooler options that VR-Rock has for free out of the box is magnetic, easy install/swappable lenses (although traditional snap ins are also available). What this means is that the lens housing snaps into the headset, in my case the PS VR2, but the lenses themselves are affixed with magnets allowing users to more easily swap lenses as needed or remove them if a headset is being shared with family or friends.
It’s a neat option for those looking for the convenience, though it adds a little bit more depth to the lenses — which may or may not provide for a different fit depending on a player’s face shape. See some unboxing and install/configuration in action below.

Either way at around $45 for a set (less if using a coupon code as seen below), VR-Rock is also a great option for those looking to go glasses-less when playing in VR and aren’t comfortable paying a premium for German engineered lenses.
Check out the various VR Lens solution from VR-Rock right here: https://www.vr-rock.com.
For 10% off any order, make sure to use the Coupon Code: “gaming-age”
Jim’s Conclusion
Overall from a lens quality perspective I had a difficult time noticing much of a difference between some of the solutions I had the opportunity to test out — on both ends of the custom prescription lens spectrum. My distance prescription lens requirements were somewhat basic, so those that would benefit from a prism insert and/or need to deal with an astigmatism may have different results and may opt for higher end upgrades.
Note: The respective companies highlighted in this article provided us with products for evaluation purposes.